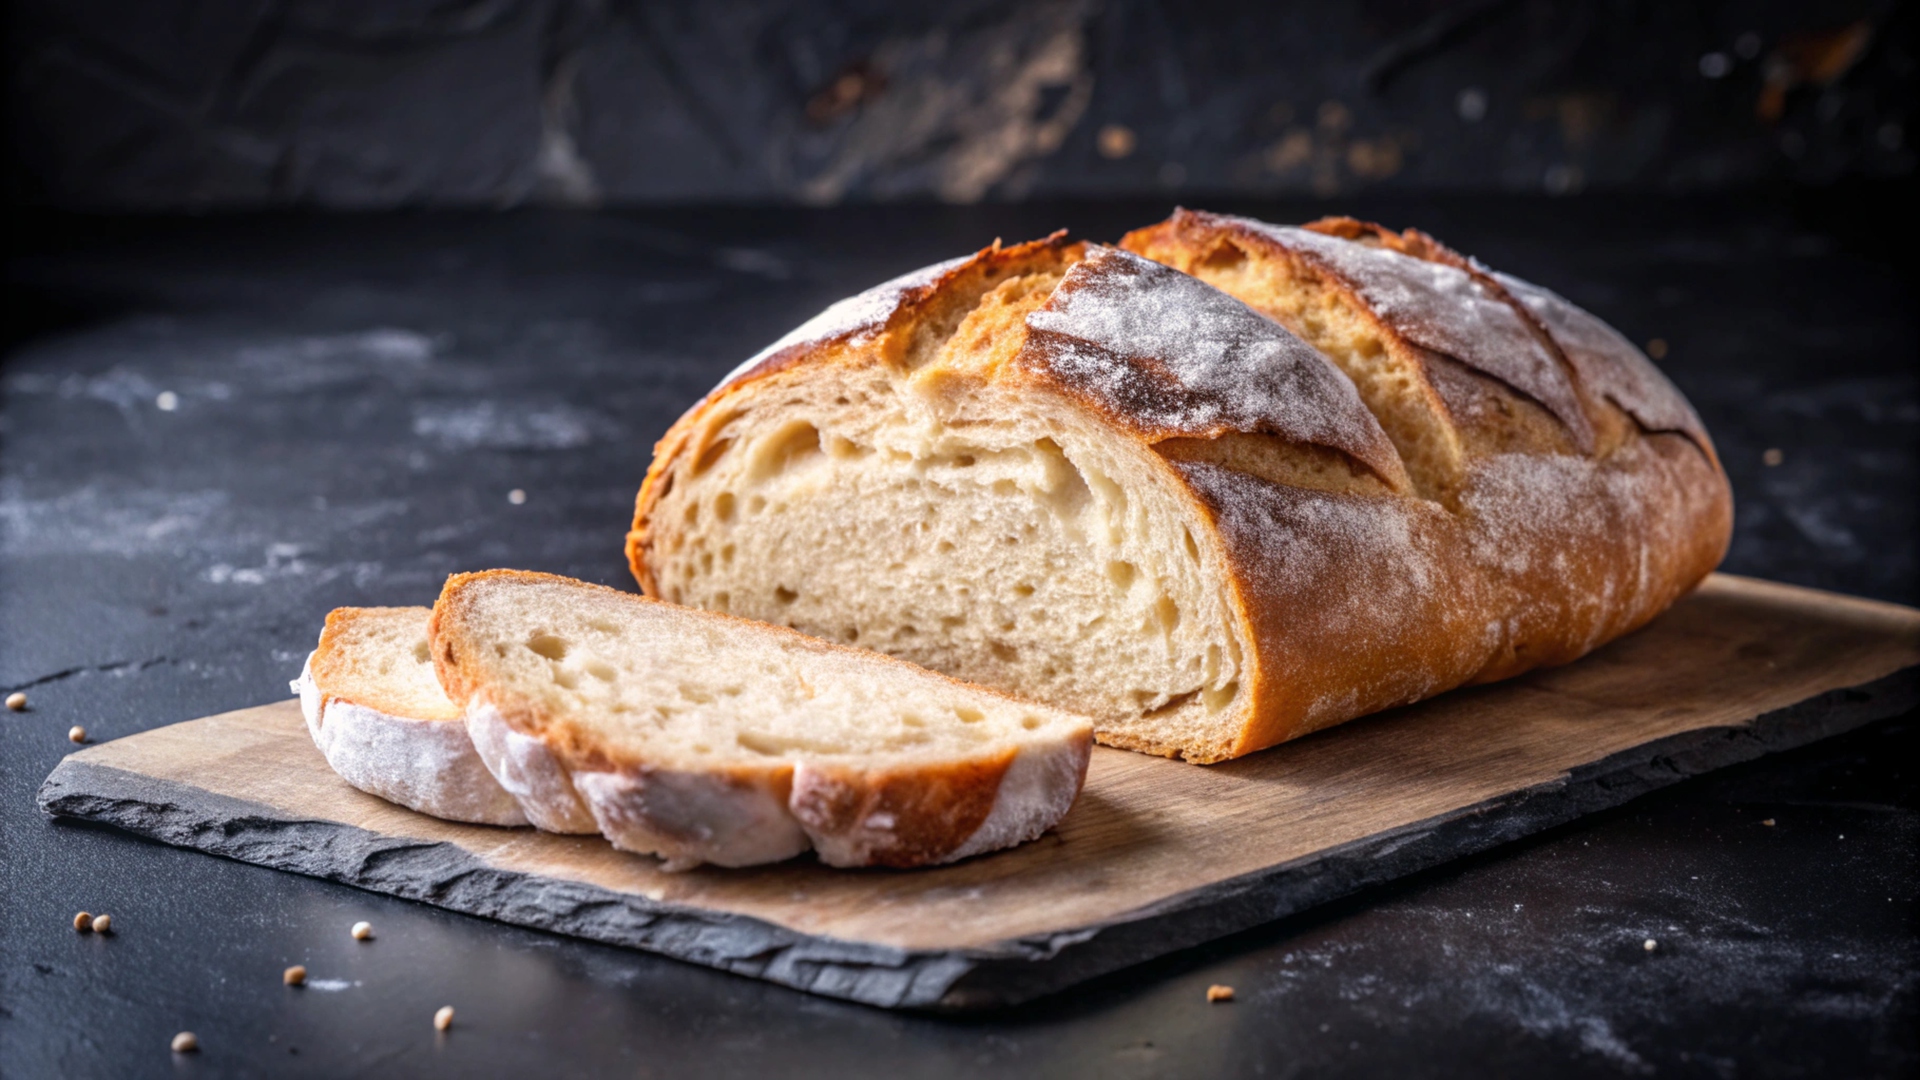
From Starter to Scoring, Go from Sour D’oh! To Sourdough!
Let’s clear up one very common cooking misconception right off the bat… making bread is not hard. In fact, it’s one of the easiest scratch-made kitchen staples you can learn to make in your own home.
While the pandemic-era craze of homemade sourdough may have passed, the desire to enjoy a freshly baked loaf of bread free of overprocessing and chemicals remains a human constant. After all, bread was one of the first things we as a species learned to cook.
All it takes is a few very simple ingredients: flour, water, salt, and yeast. Of course the trick is knowing what you do with them.
With sourdough, the yeast used is not found in a packet, but rather created naturally from the wild bacteria found in the environment. It’s a little more time consuming than opening a bag of store-bought yeast, but you’ll taste every minute of it in the bread that results.
What is a Sourdough Starter?
Sourdough starter is simply a mixture of flour and water left out long enough to capture the wild yeast and bacteria that lives in our environment. Technically, this is a ferment. Rest assured this bacteria is entirely safe. The result is a leavening agent that both causes dough to rise and gives bread a distinctive flavor. It’s not necessarily “sour” so to speak, and in fact many times can be almost sweet.
How to Make Sourdough Starter
The process for making, or fermenting, a sourdough starter is pretty straightforward. Simply mix equal parts flour and water (about 4 oz each is a good start), cover, and let it sit in a warm place for 48 - 72 hours. After about four days, discard half of it and mix what remains with another 4 oz of flour and water. Let it sit again.
At some time between day 8-10, the mixture will begin to rise and fall predictably, look bubbly
and begin to smell fruity. At this point, you are nearly ready to bake!
How to Tell If Your Starter Is Active
An active starter will double in size within hours after feeding (feeding = adding water and flour to the starter). The starter “eats” the sugars of the flour and produces carbon dioxide, forming bubbles which raise the volume of the dough. An easy way to test if it’s ready to use is to add some to water. If it floats, there’s enough air in it to mix with your dough.
How Often To Feed A Starter?
It’s a common misconception that sourdough starter is a high-maintenance activity. Fact is, if you keep your starter in the fridge, you really only need to feed it about once a week, maybe even longer. So long as you give yourself enough time to wake it up with a few feedings before you’re ready to back with it, sourdough starter is resilient enough to be left alone for some time.
How To Use Sourdough Starter
Now making bread with sourdough starter takes a little bit of instruction to guarantee the best results your first time out. Sourdough starter and the breads made from them don’t have as simple a formula as using set amounts of store-bought yeast.
There are more adjustments to be made with hydration, ferment and proofing times, and even monitoring the temperature of the dough. That’s why Cook Street School of Culinary Arts has brought back our Sourdough 201 class for aspiring bakers to level up from packaged yeast to sourdough mastery.
In this two-day class, we’ll cover the basics of making our own starter, but will use ready-to-use starter to make our loaves and other creations so you can experience the full cycle of this fascinating style of cooking.
Not only will you bring home your own bread, we’ll send each student home with their own starter as well, along with instructions on how to feed, maintain, and use the starter on their own.
Why Join Our Cooking Class?
There’s something truly special about baking your own sourdough bread. With its rustic crust, chewy crumb, and signature flavor, sourdough is both a rewarding baking project and a delicious staple. If you're wondering how to make sourdough bread at home, you’re in the right place!
While baking sourdough at home is possible, there’s nothing like learning in person. In our Sourdough 201 workshop, we’ll cover:
… and much more. Whether you’re a sourdough newbie or want to refine your skills, we’ll help you master the art of sourdough.
Join our next Sourdough 201 Class and experience the magic of baking by hand. Learn time-tested techniques, troubleshoot your starter, and take home a loaf you’ll be proud of.
